
目錄
先在實體機器或虛擬機上安裝Palo Alto OVA檔案: PA-VM-ESX-xxxx,安裝好後直接啟動,啟動時需要設定PA-VM的interface,通常有兩種:
- DHCP
- Static
DHCP
預設帳號:admin/admin
架起來之後就可以使用網頁服務登入:https://PA_VM_IP_address
能夠看到PA Web服務的登入畫面,網頁服務的預設帳號一樣admin/admin
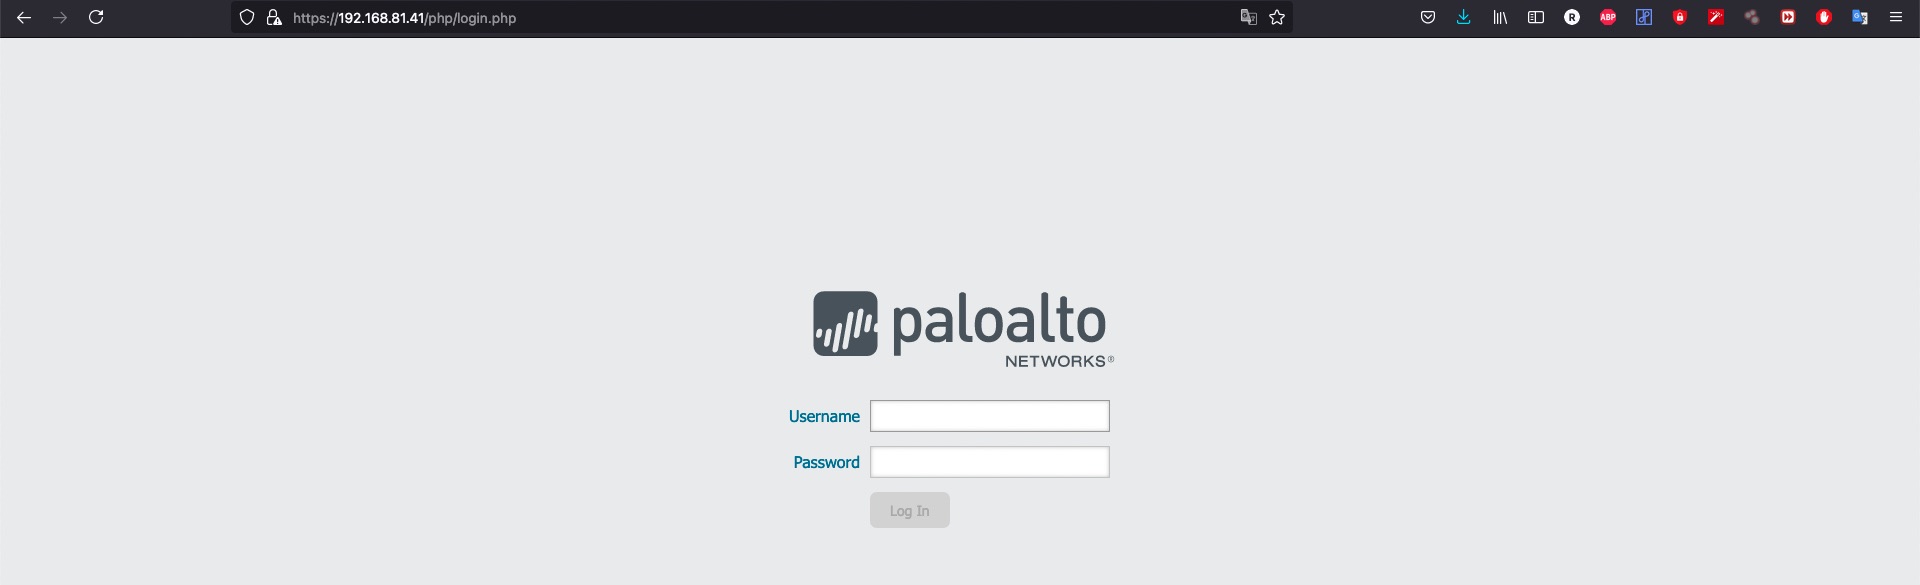
就可以直接登入進來。
Static
若是使用Static的方法設定如下:
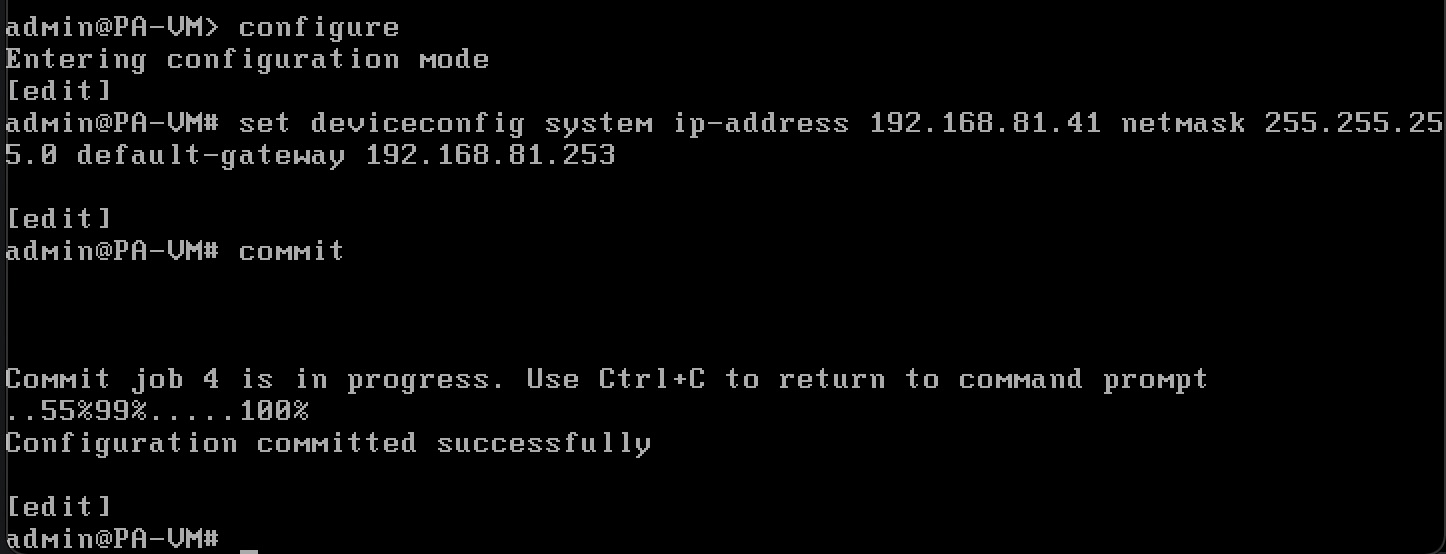
configureconfigure進到edit configuration mode
set deviceconfig system type static設定自己的interface為static
set deviceconfig system ip-address <ip> netmask <netmask> default-gateway <default-gateway>設定完之後要保存需要輸入commit
commit設定完裝置上的interface
先用exit離開edit模式
exit然後檢查ip address有沒有改變
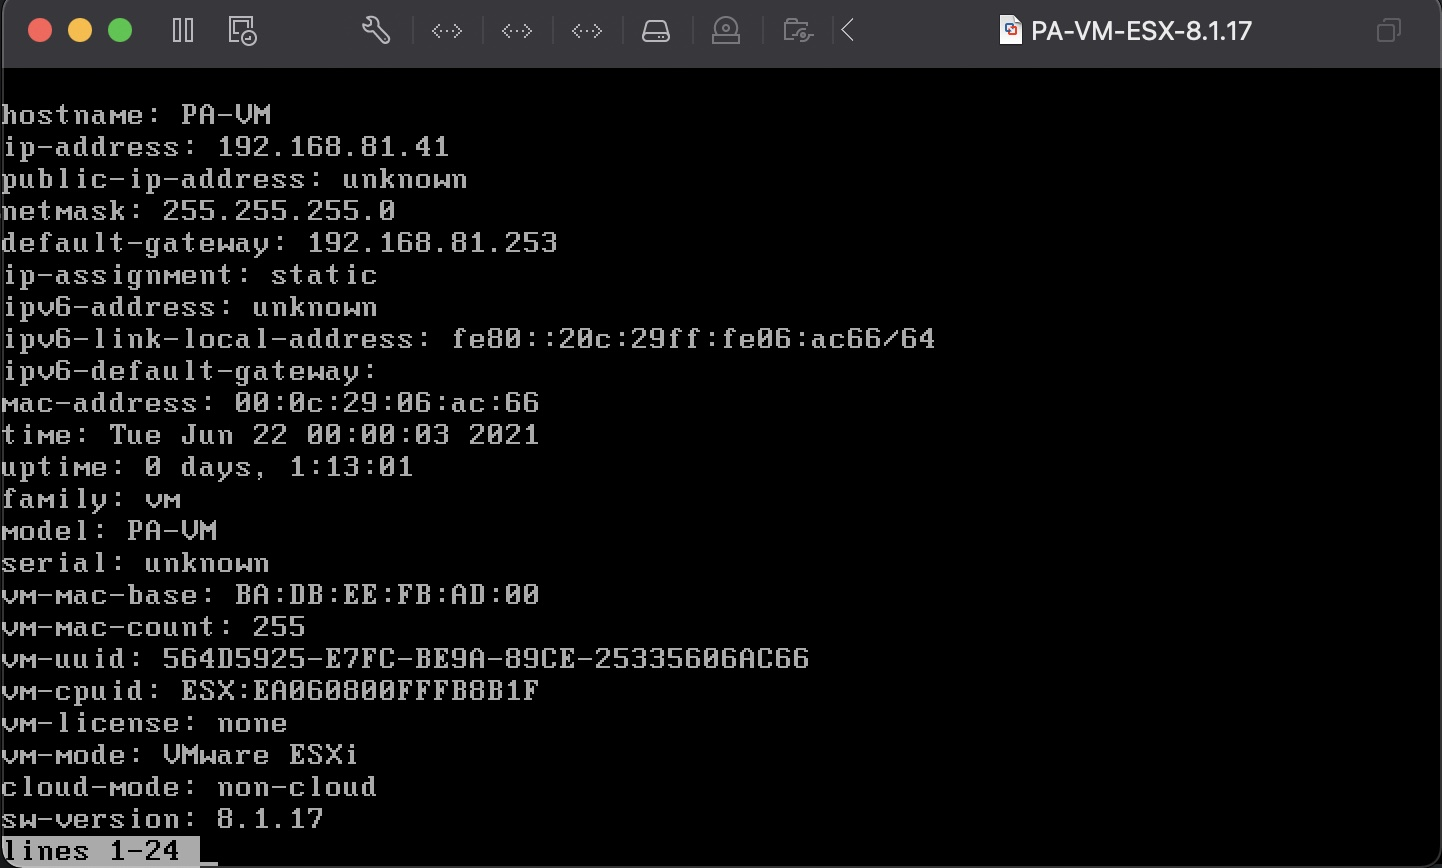
接著就一樣可以到Browser上輸入剛才設定的IP來登入PA web功能。